

When I answer the question, “why use a Home Theater PC (HTPC)?” I usually start by showing off the commercial skipping feature – one of the favorite features at my home. As a commercial begins on any TV show we’re watching time-delayed, we can simply hit the right-arrow button to skip to the end of that commercial. It makes TV viewing so much better. This article is a how-to on using one of the better methods of commercial detection for SageTV – Comskip and Dirmon2. Read on for a simple how-to on setting it up.
OVERVIEW OF COMMERCIAL SKIPPING WITH SAGETV
SageTV is an excellent HTPC software program that transforms your home computer into a powerful, supercharged DVR with many additional features than you would find with your cable or satellite box DVR or even your TIVO. Commercial detection and skipping isn't built-in to SageTV, but is free and easy to set up. NOTE: skipping based on a set time (default skip is 3030 seconds, but is configurable to other time lengths) is built in to SageTV. SageTV's Website
At the GeekTonic home we rarely watch commercials any more except for the occasional sports program. This is because it is so easy to install an add-on into SageTV that analyzes your recorded shows and marks the start and end point of most commercials so you can quickly skip over the commercials and go straight to the content.
Here's how it works once installed. When you hit the play button on your remote control a status bar appears at the bottom of the television screen like this one:

You'll note the dark green portions of the status bar, these are the commercials that were detected. When you hit the skip button on your remote control (my skip button is mapped to the "right" button on my remote control) it will skip to the next start or end point of the next commercial. You can skip back the same way with the back button as well. It works much like the chapters in DVD's with the start and end points of each commercial acting as the chapter marks.
To give you an idea of how commercial skipping works, check out this very-short screen-cast I made while viewing a SageTV-recorded television show:

In the video I press the play button on my remote to show you the status bar during playback of a show. Then the show gets to a commercial - at this point I hit the skip commercial button and it goes to the end point of that commercial. If for some reason the commercial detection was off a little, I can do a rewind or fast forward a few seconds to get to the correct spot.
Read on for a very detailed how-to on setting it all up. I’ve leaned toward giving more detail than needed just in case but it should be a very easy and quick install.
HOW TO INSTALL COMMERCIAL DETECTION IN SAGETV
There are two or three steps to installing commercial detection in SageTV. In all it should take about 5 minutes to set up:
1. Commercial Detection Program – program that actually analyzes the recorded show and marks the detected commercials. This information is then saved alongside the recorded video file.
Your two best choices for commercial detection are ShowAnalyzer and Comskip.
- ShowAnalyzer - head over to the ShowAnalyzer site for more info on this one. I don’t currently use it but I plan to give it a try in the near future and do a how-to about it. ShowAnalyzer is the one program that works with Windows 7 MediaCenter and is gaining in popularity.
- Comskip – I've been using ComSkip with great success for over a year now so I'll focus on this one With the free ComSkip, the install file comes as part of the ComSkip Monitor program that we'll talk about next. I’ve donated to the developer of Comskip and in doing so have access to the most recent version of Comskip – If you like Comskip I recommend you donate as well (info on donations at the Comskip Website)!
- Download the latest version of ComSkip from here. Then unzip it in "SageTV\SageTV\STVs\SageTV3\" folder.
- NOTE: If you are installing Comskip with Linux, read this post for installations instructions
2. File Monitor Program – Program to monitor those marked commercials
Next, you need a program to monitor your show recordings directory for new recordings. As soon as a new recording appears in the directory(s) the file monitor program runs your ComSkip (or ShowAnalyzer) program to mark those commercials. There are two different programs that will do this for you and both are free. The first one is ComSkip Monitor and the second one is DirMon.
- ComSkip Monitor - Used with ComSkip. This program is a little less configurable than DirMon, but it's extremely easy to set up. For detailed instructions on setting up Comskip Monitor read this post at GeekTonic. The reason I no longer use Comskip Monitor is that it is no longer updated and doesn’t give you as much control as DirMon2.
- DirMon2 - DirMon2 is a very configurable and powerful file monitor program that can be used for monitoring commercial skip files and can be used for other purposes as well. This guide focuses on setting up commercial detection with DirMon2 – this is what I’m currently using and love it.
- How To Instal DirMon2
a. First get the free download of DirMon2 at Dragon Global
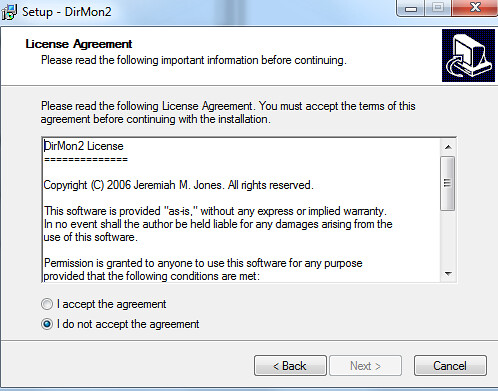
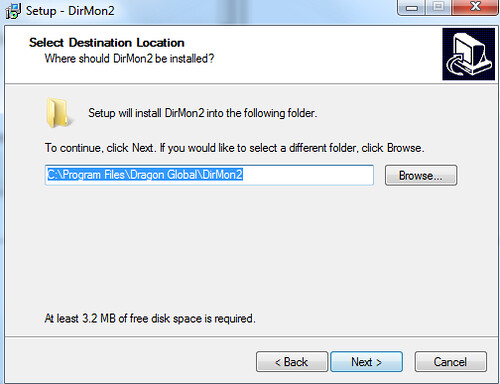
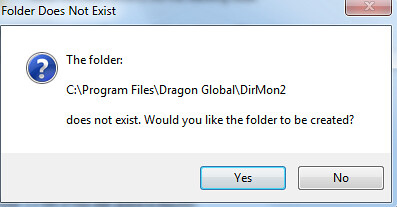
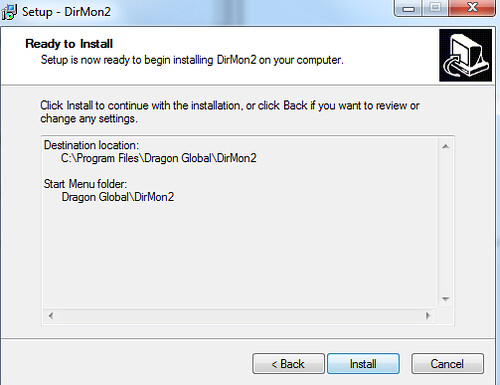
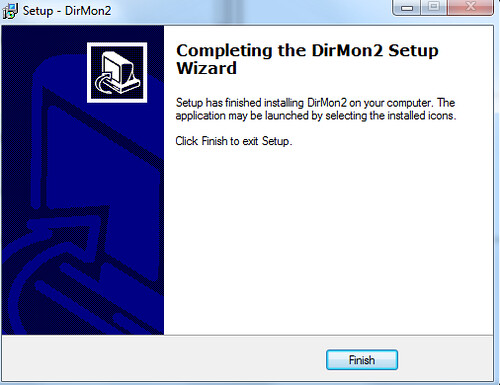
b. Run the DirMon2 Setup Wizard

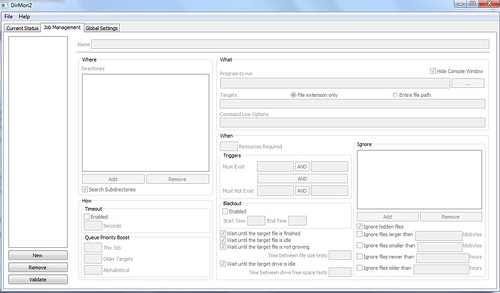
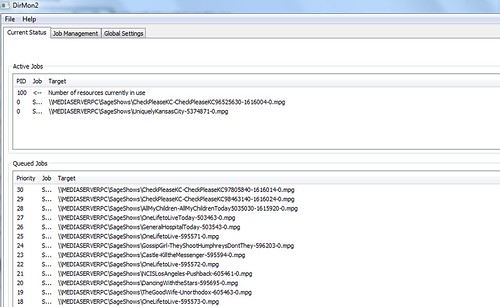
c. Once installed, run DirMon2 GUI – You’ll see three tabs at the top: “Current Status, “Job Management” and “Global Settings”. Click on “Job Management”
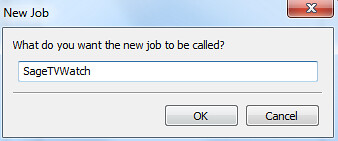
d. Under the Job Management tab, click the [New] button in the lower left. Name your process something that makes sense to you – I used "SageTV Watch"
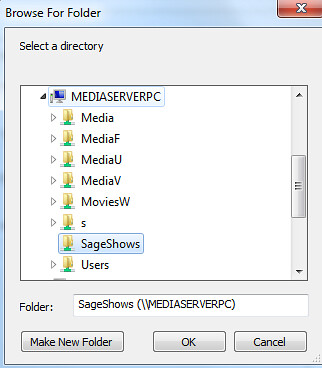
e. Now on the the same Job Management Page, Under the Directories box click the “add” button to add any directories where SageTV shows record to. I left the “search subdirectories” checkbox selected.
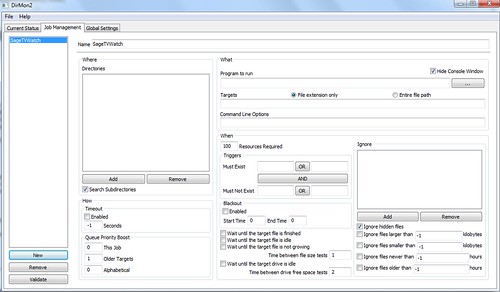
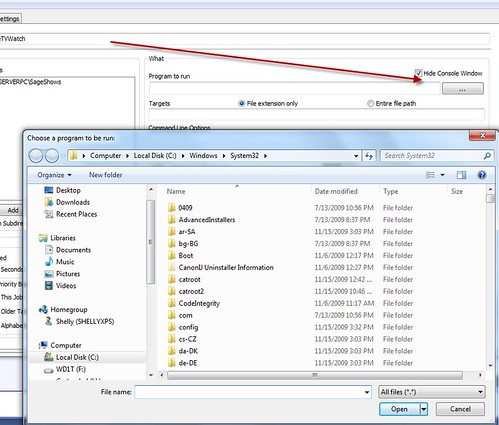
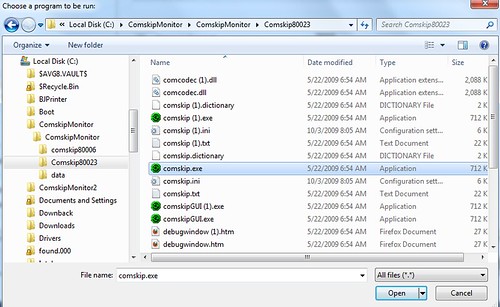
f. Still under the “Job Management” tab, to the right of the “Program to run” box, point to where your comskip.exe file is. Mine is located at “C:\ComskipMonitor\ComskipMonitor\Comsip80023\comskip.exe” Obviously I used to use Comskipmonitor – feel free to locate comskip in a directory that makes sense for your setup.
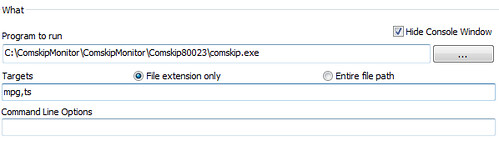
g. Now just below that under “Targets” add the file-types that your SageTV records to. Mine uses .mpg and .ts files so I added "mpg, ts" (no quotes). Then select the "File extension only" radio button.
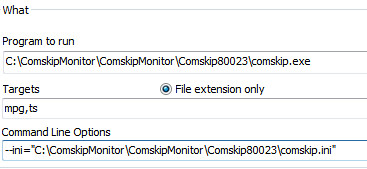
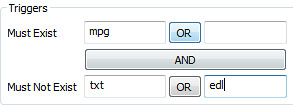
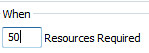
j. If you have a dual or quad-core computer for your HTPC server, you might want to set it to run more than 1 instance of comskip to run at a time. To do this set “Resources Required” to 50 or less. 100 divided by this number will be the number of simultaneous jobs that will run.
j. Now Click on the third tab – “Global Settings”
k. At the bottom of the “Global Settings” page, click on the “Add” button to add file cleanup instructions
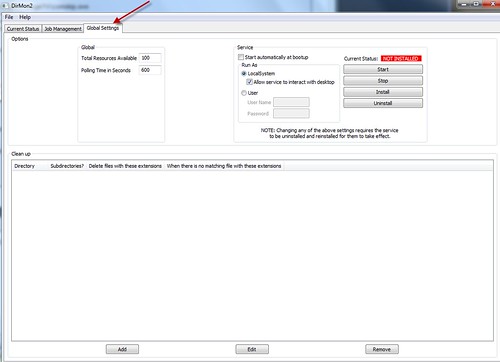
l. Here you’ll enter the recording directories again. This tells DirMon2 to remove those commercial skip detection files after you’ve deleted the recorded video. Below is a screenshot as an example, note I’ve set it to delete all files “edl, vprj, txt, log” that I could think of that might be used for various commercial detection files. Then in the last box again put in the filetypes used for tv recordings – in my case mpg and ts files.
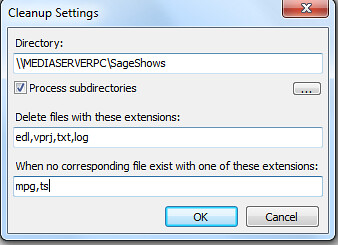
Here’s a screen-shot of what it looks like after adding my two recording directories:

j. Okay, we’re almost finished. Now uncheck “Run As LocalSystem" & select "User" – here you should enter your administrator username/password so it runs this service as the computer administrator with full rights to the files it needs access to.
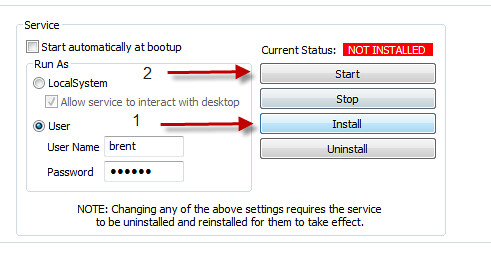
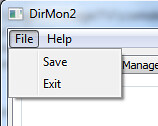
j. To be safe here, select the File>Save menu item to save these settings.
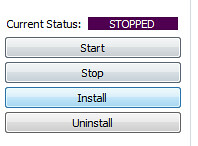
k. Next press the “Install” button. And then press the “Start” button.
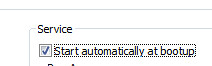
DirMon2 will install the service with the settings you set. And then run the service when you hit “start.” It should also starts automatically upon reboot if you check the “start automatically at bootup” box.
As long as the DirMon2 service is running it will run one or more comskip processes whenever you have a new recording detected. To be sure it’s working, you can go to the Current Status tab and press refresh to see if any commercial skipping jobs running or in the queue.
Note: If you make any changes to the settings after the fact be sure and do the following
- File-Save – so that your settings do in fact save
- Stop and re-start the service from the global settings tab
3. ComSkip Playback Support
If you use SageMC, there’s nothing left to do – it just works. If you use the default SageTV STV, you still need to download the ComSkip Playback Import HERE and then follow these steps:
- Unzip the ComSkip Playback Import program into SageTV. The df_sageutils.jar goes in the "SageTv\SageTV\Jars\" directory. All other files from the zip should be placed in the "SageTv\SageTV\STVs\SageTV3\" directory.
- Restart SageTV
- Load the import by going to Setup -> Detailed Setup -> Advanced, then select "Import SageTV Application Package"
SETTINGS FOR COMSKIP
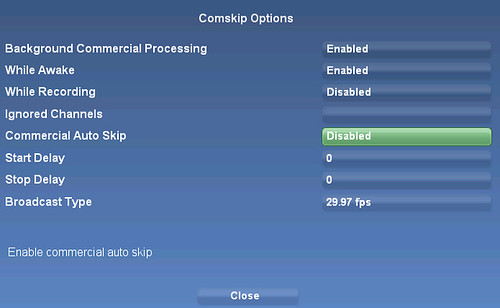
Once everything is installed you can now modify the settings in the default SageTV STV under Detailed Setup>ComSkip Playback Options.

If you're using SageMC, the option page is similar to the standard STV options page. The main option you can adjust is the Commercial Auto Skip. Switch this to enabled and it will automatically skip any detected commercials without ever touching the remote.
You're done. Go enjoy your HTPC shows commercial-free!
Remember, there are other options out there – this is only one of them.
- SageTV with Comskip and Comskip Monitor
- SageTV with Comskip and DirMon2 – This above tutorial explains how
- SageTV with Comskip and DVRMSToolbox – how-to coming soon.
- SageTV with ShowAnalyzer and any of the three commercial monitor programs – how-to coming soon.