

Want to record any channel from your Cable or Satellite TV provider? Better yet, want to be able to detect commercials on those recordings and control how you use & store those recordings? Well the Hauppauge HD-PVR is your device. The HD-PVR from Hauppauge records directly from the component out port of any device and uses the “analog hole” to bypass any restrictions put on the content by the provider. SageTV has the best (read most reliable) solution for using the HD-PVR and today I’ll show you how to install and set up the Hauppauge HD-PVR for use with SageTV’s HTPC software.
Hauppauge describes the HD-PVR this way:
HD PVR is the world’s first High Definition video recorder for making real-time H.264 compressed recordings at resolutions up to 1080i. HD-PVR records component video (YCrCb) from video game consoles and cable TV and satellite set top boxes, with a built-in IR blaster to automatically change TV channels for scheduled recordings. Audio is recorded using two channel stereo or optical audio with five channel Dolby Digital.If you’re using the HD-PVR for recording TV content to SageTV you’ll need either a Cable box or a Satellite box with a component video output and preferably an optical output for audio. Added bonus if your cable/satellite box has an active firewire port because if it does I’ll show you how to connect your cable box to your HTPC to change channels more quickly and accurately than using an IR Blaster.
Read on for the complete how-to on setting up the HD-PVR with SageTV
Setting up the Hauppauge HD-PVR
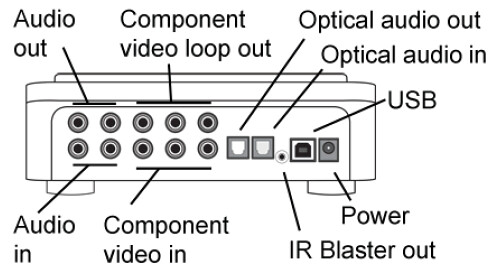
1. First connect the HD-PVR to your cable TV or satellite TV set top box. Don’t use the S-Video or Composite (RCA) for this. Take the included component cable that came with the HD-PVR and connect one end to your HD-PVR Component Video In and the other end of the cables to your set top box Component Video Out ports.
2. Connect the audio from your set top box to your HD-PVR. You can either use Optical (preferred) or the RCA audio cable to do this.
3. For Channel Changing Install either:
a. IR Blaster - a poor IR blaster comes with the HD-PVR which I don’t recommend using. I prefer the USB-UIRT if you’ll be using IR Blasting to change channels. If you’re using the USB-UIRT follow the instructing in the link above. If using the included Hauppauge blaster follow the instructions in the Hauppauge manual and check this thread for more instructions (many, many people have issues getting the included IR blaster working). Again my preference by far is the USB-UIRT.4. If you have any other Hauppauge tuners to install at this time, do the others first. The HD-PVR tuning device should be the last of the bunch you install at one time.
b. Firewire – If you’re using firewire for channel changing you’ll be happier because it’s much more accurate and channel changes are much faster than with an IR blaster. I’ll cover setting up firewire channel changing next week.
5. Shut down your computer.
6. Connect the USB cable to your Hauppauge HD-PVR on one end and your HTPC on the other end. Try to avoid connecting to a USB replicator – go directly to your HTPC’s USB port on the computer itself.
7. Boot your HTPC
8. Connect the HD-PVR power supply to the HD-PVR and plug it in to AC.
5. If a 'Found New Hardware' wizard appears, cancel it. Insert the Hauppauge WinTV Installation CD-ROM in your CD-ROM drive.
6. Install the driver (step one of the Hauppauge Installation Disk Process) NOTE: The latest Hauppauge Driver can be found at Hauppauge’s Support Page. For the record I’m currently using driver version 1.5.6.0 even though the latest on the support page is 1.5.7.0. Reason being – if it ain’t broke… don’t mess with it. I haven’t heard of any issues with this latest version though so give it a shot.
7. Optional for Windows 7 Users & Mandatory for Others: If you will be using this HTPC to play back HD-PVR recorded shows you’ll want to install the ArcSoft TotalMedia Extreme (TME). Don’t worry, we won’t have to use this program except to test, but it does install a codec your HTPC will need to playback those h.264 files it records to.
8. Open up ArcSoft TME and have it attempt to record and playback a show from your set top box. Don’t worry about channel changing at this point – just be sure it’s able to record and play back that content.
9. If you’re using the included IR Blaster (again I don’t recommend this) read over the steps on setting that up in the HD-PVR quick start guide. If you have the USB-UIRT, you should install that now if you haven’t already.
10. Alternatively if you’ll be using firewire for channel changing set that up now. A guide to this process coming next week.
Whew! Now that the installation is complete we can add the HD-PVR to your list of tuners in SageTV
In SageTV go to Setup and then “Setup Video Sources”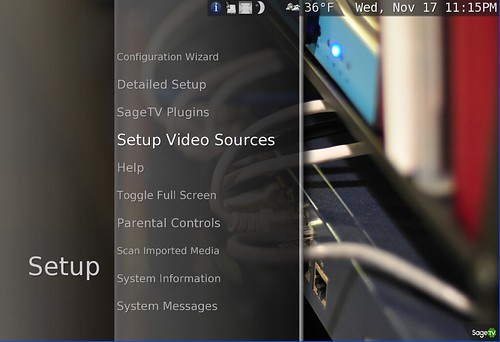
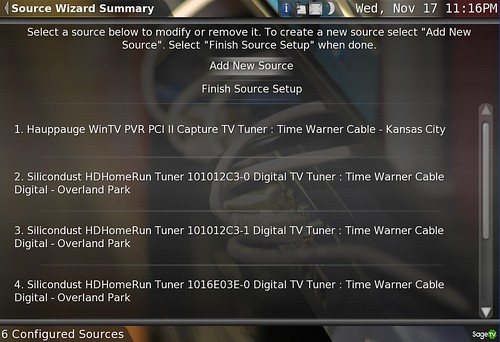
Select the “Add New Source” Button
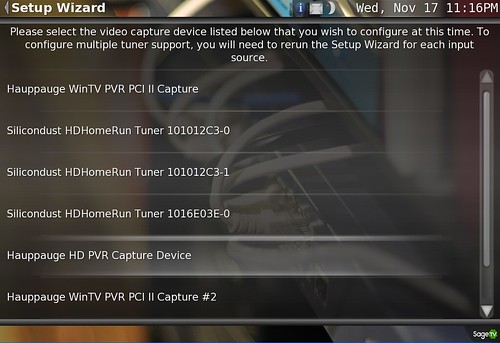
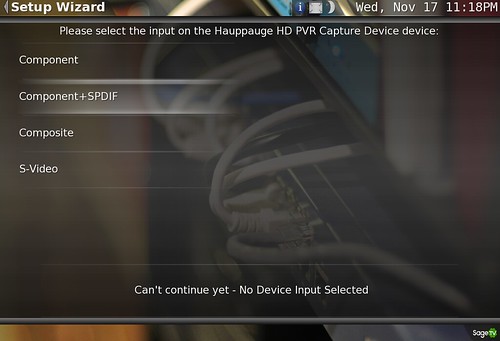
From the list of tuners, choose the Hauppauge HD PVR Capture Device
Choose the input you’re using with your HD-PVR. It should be either Component or Component+SPDIF.
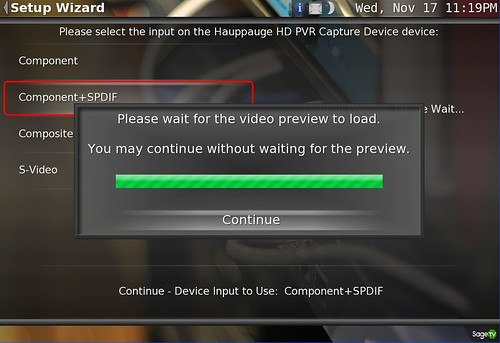
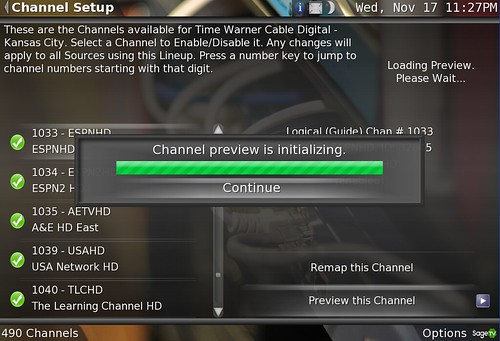
Select Continue and you’ll then see a “please wait” dialog while it loads the video preview
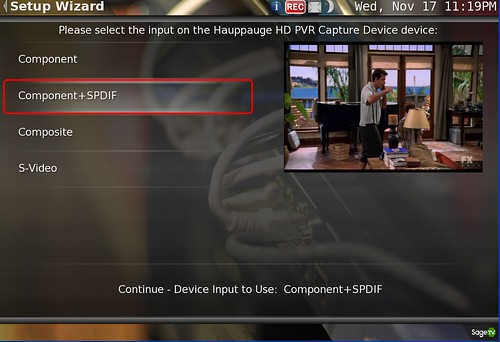
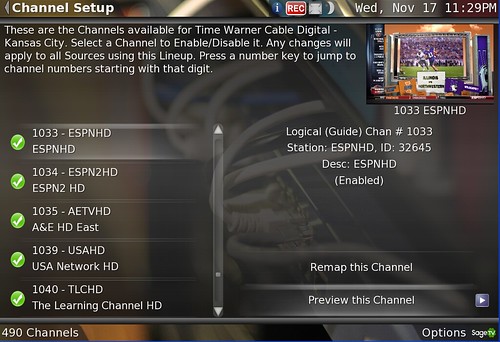
If all is well you should be seeing video in the top-right part of your screen like we do below. If so, click on “Continue at the bottom”
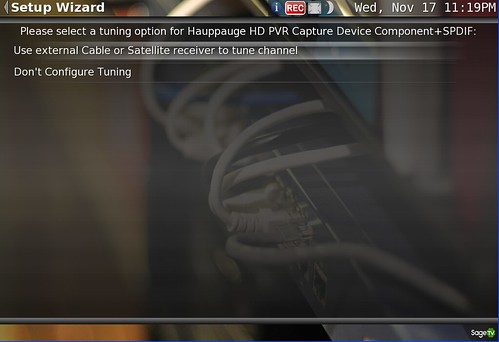
Select “Use external Cable or Satellite receiver to tune channel”
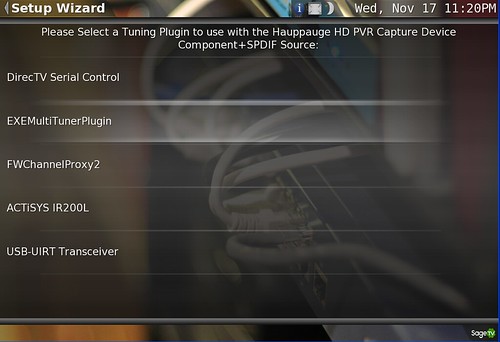
Choose your tuning plugin (what you’ll use to change channels). It should be one of the items listed in the choices. You’ll notice there is DirecTV Serial Control, a couple of firewire options (I already installed these before) and a couple of IR blaster choices. Before firewire tuning I used to use USB-UIRT. Now I use the FWChannelProxy2 which I set up for firewire tuning – again I’ll cover this process next week.
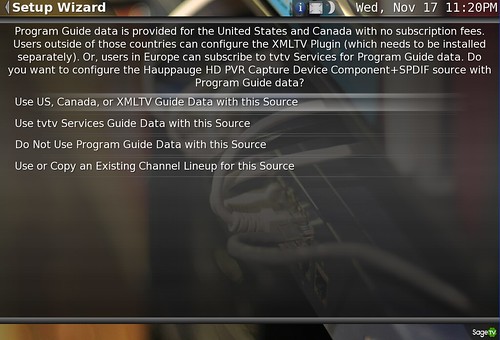
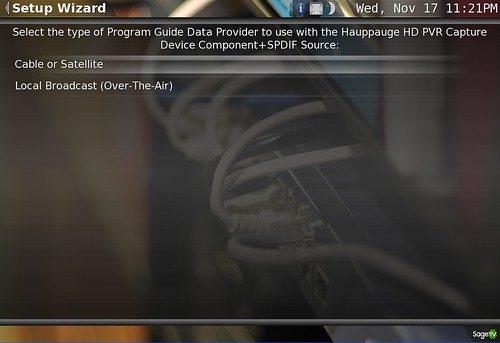
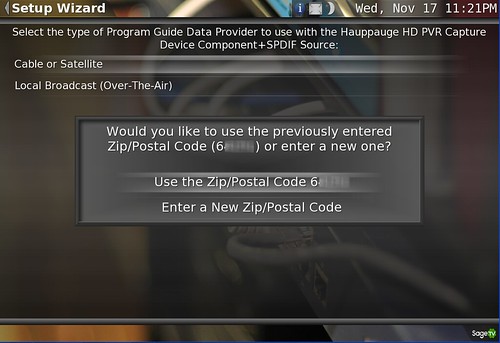
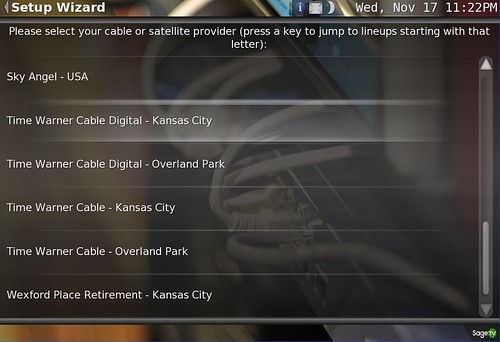
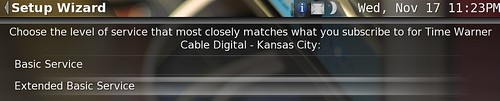
Follow the prompts for selecting the proper TV Guide data:
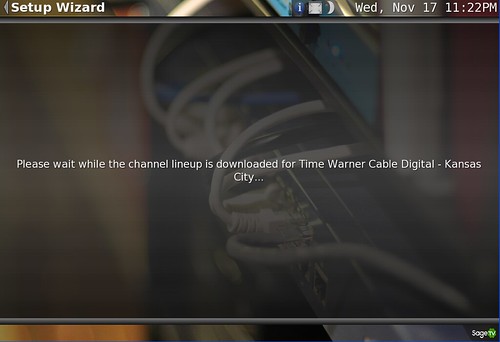
Wait while the guide data downloads
You’ll now see all of the available channels listed. It doesn’t do a channel scan on the HD-PVR like SageTV does with other tuners. Just run through the list and enable/disable channels as you wish.
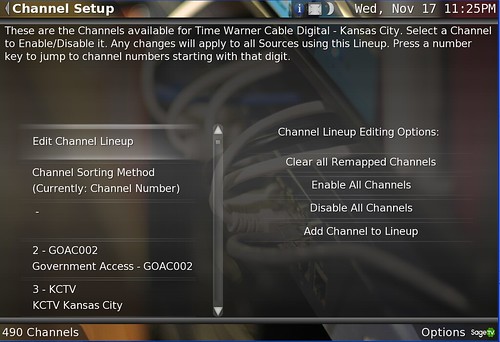

Note that you can preview any of the channels
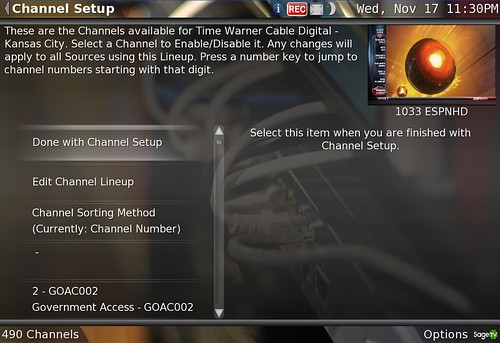
Once you have the TV Channel lineup like you want, select “Done with Channel Setup”
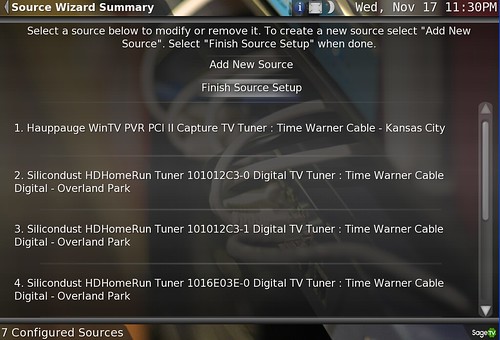
Now select “Finish Source Setup”
You can view and change the H.264 Video Decoder Filter in the Settings>Detailed Setup page. Mine uses the ArcSoft Video Decoder since I did install Arcsoft TME in step 8 above.
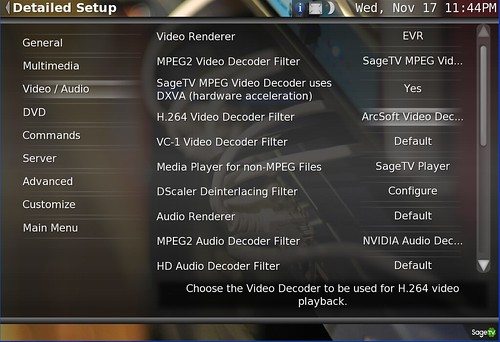
Other H.264 decoders will be listed if you click on the filter from the menu

That’s it. The HD-PVR takes a few extra steps to get set up, but it’s worth it. I’ve used my Hauppauge HD-PVR with SageTV for well over a year now and have had great success. ESPN, HBO, USA and many other channels are all recorded in HD with great picture quality on my SageTV and I can view them live or recorded played back on any of my extenders and HTPCs in the house as well as remotely with Placeshifter & the iOS add-on.
If you have any questions or suggestions about the HD-PVR/SageTV setup process let me know in the comments.