
Earlier this week in Part 1 of SageTV the Getting Started Guide we covered what SageTV is, the basics of what it can do with extenders and multiple HTPCs, why choose a HTPC and the first steps of installation.
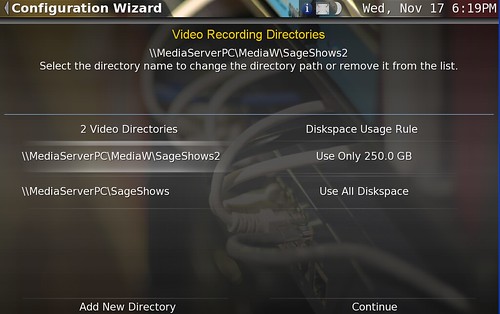
The last step we covered in Part one was adding the recording directory (or directories if you have more than one) where the TV will be recorded to. I should note that I currently use two drives for recording TV. You can set your disk space usage rules as “use only, use all, leave free” along with the specified amount of Gigabytes.
Notice on the first drive below I’m limiting recording space to 250GB for now, but the second drive can be filled up with recordings. Like most things with SageTV this is up to you. SageTV will record to both drives and by default balance between the two when possible to optimize disk read/right activity as well as available space between multiple drives.
Next we’ll begin adding the TV tuners in the setup and finish things up.
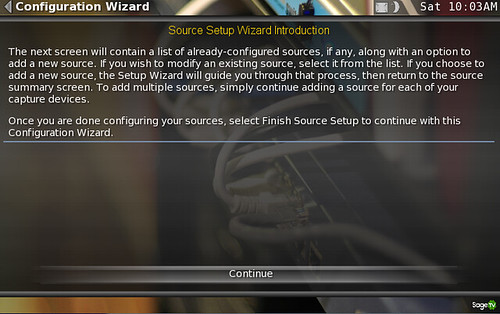
The configuration wizard takes you through the “Source Setup” where you add TV tuners to SageTV. These would be tuners you’ve already installed whether they are a Hauppauge QAM/Analog tuner, a SiliconDust HDHR network tuner or even a Hauppauge HD-PVR tuner.
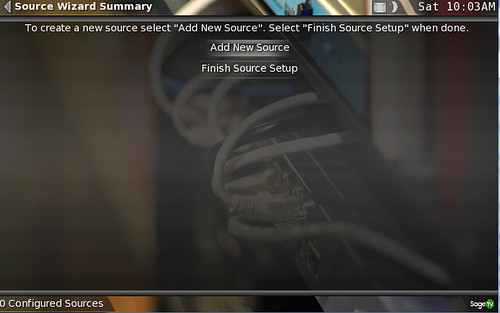
Select “Add New Source”
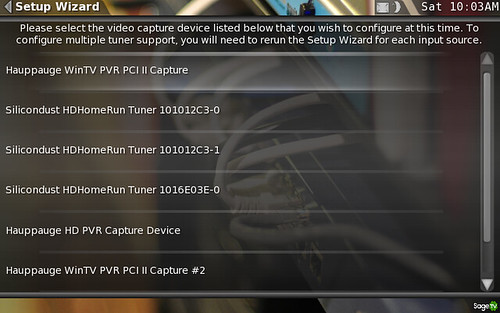
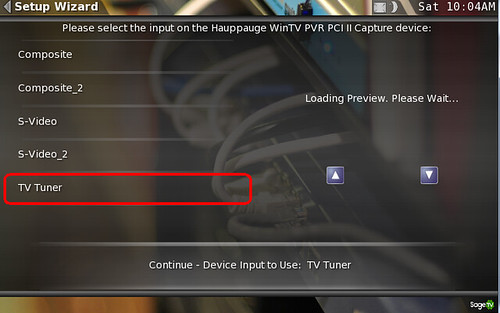
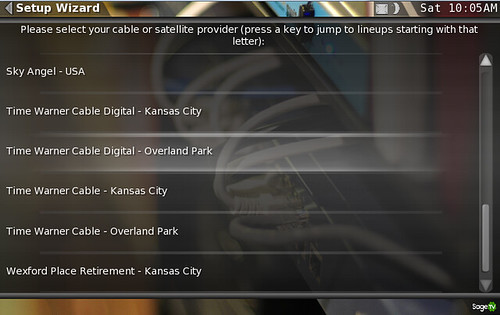
Select the installed tuner from the list – you’ll need to go through this process for each tuner:
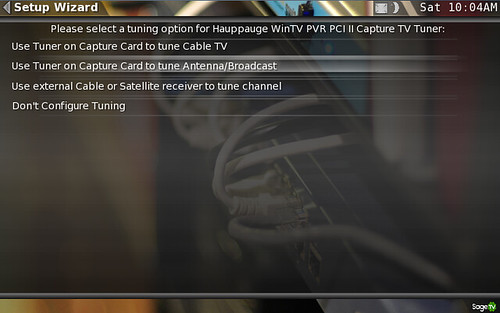
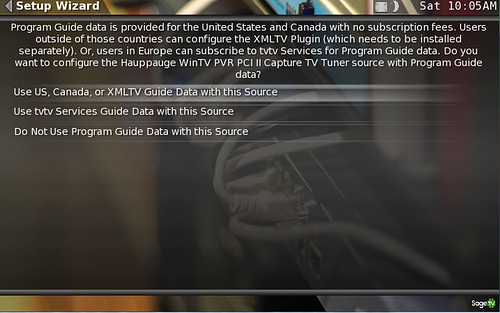
As you add each tuner, you’ll be asked a series of questions about the Electronic Program Guide (EPG)

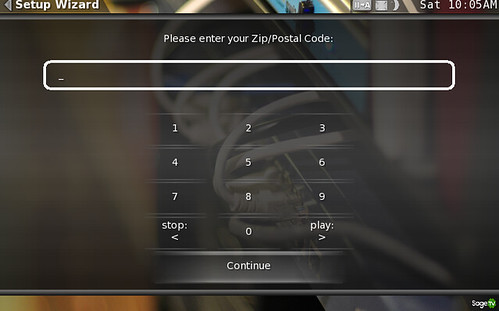
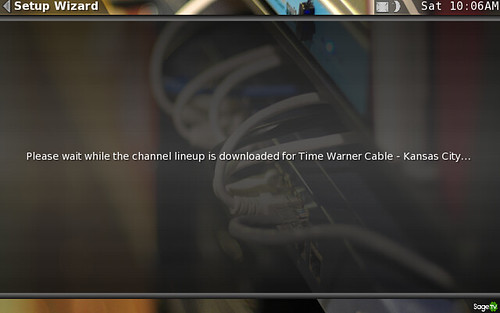
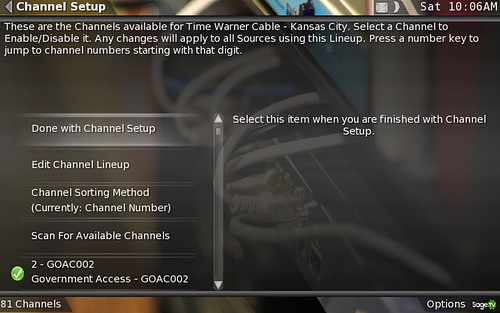
Once it’s downloaded the guide data you’ll scan for available channels (this can take a while) and then will see a screen like the one below where you can preview channels, enable or disable channels and change the sorting method.
Once you’ve finished for this tuner, continue on to the next one and on-and-on until you’ve added each available tuner. Something to note for guide data in the setup. When you have multiple tuners, you’ll sometimes have one tuner that can access certain channels, and other tuners that access different channels with some overlap. SageTV deals with this fairly well – to explain here’s how mine is set up:
Hauppauge PVR-500 dual tuners – both use Time Warner Kansas City basic cable. These pick up the old, analog channels that still remain and are in SD. Yes these two tuners are for those daytime soaps MrsGeekTonic loves so much. Since she doesn’t care about whether their in HD or not…. I have a use for the SD tuners. These tuners also serve as extras for times when I’m recording way too much TV at the same time.
SiliconDust HDHR dual tuners – I have two, dual HDHR’s which together make up four tuners. These use the Time Warner Digital – Overland Park guide data and get all digital QAM channels that are unencrypted. For me that means a lot of the recordings happen on these tuners – everything except stuff like SyFy, ESPN, HBO etc.
Hauppauge HD-PVR – this single “tuner” is connected to my Time Warner Cable Box with component video, SPDIF audio and a firewire cable for change channels. This one uses Time Warner Digital Kansas City guide data. You can use the same source for guide data and still have two sets of lineups, but I choose to separate them with the two, neighboring city lineups just to keep things straight in my head. This particular lineup can access any channels offered by Time Warner. For all the details on setting up the HD-PVR for SageTV read this how-to.
There is some overlap in the channels of the three above guide data sources, but to SageTV those channels available to more than one tuner are all the same channel to SageTV. The one exception to this is that SageTV favors HD channels by default when deciding which tuners to record from.
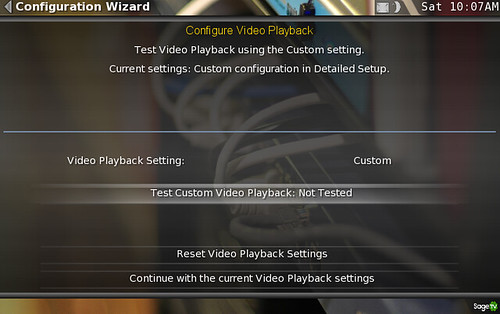
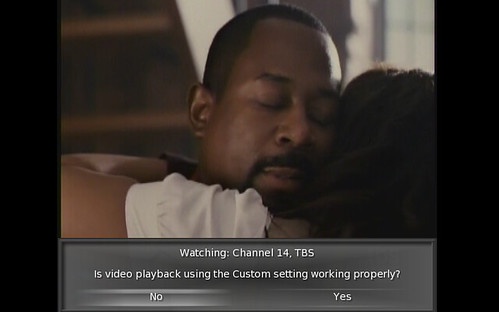
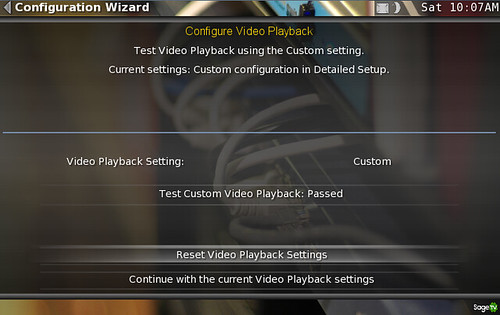
Next SageTV will take you through some basic video playback tests. You can customize this (what codecs & settings are used for playback) later, but it doesn’t hurt to go ahead and let SageTV guide you through this just to get things working right away.
Okay, it’s probably been about 3 to 15 minutes (give or take) since we began the configuration wizard and you’re now done with the basic installation. There are TONS of additional settings, plugins, themes and other things you can do to customize SageTV. But rather than throw in a bunch of plugins right now we’ll take a look at what we have with the base, SageTV installation before messing with that.
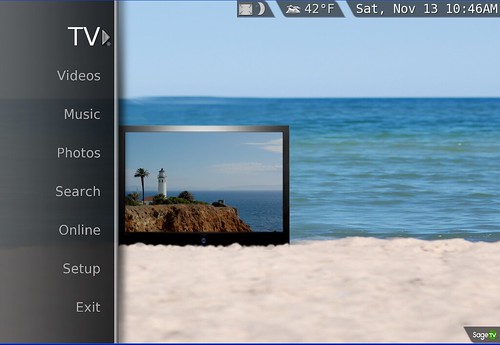
The screen-shot below is the main menu. It refects an obvious improvement from SageTV 6’s user interface, but isn’t perfect. The great news though is that you can effortlessly switch up the look & feel of SageTV with their new plugin mananger. More on that later.
Next up will be a screen-shot tour of SageTV with a walkthrough of the key features. Then we’ll get to the essential plugins and customization I recommend, different ways to set up a multi-TV SageTV home and finally a review of SageTV 7 as a Home Theater PC. I’ll continue to throw in more HTPC how-to’s over the coming days & weeks.
SageTV 7 - The Getting Started Guide:
SageTV 7 The Getting Started Guide - Part 1
SageTV 7 The Getting Started Guide – Part 2
SageTV 7 The How to Install Hauppauge HD-PVR with SageTV
List of all SageTV 7 Plugins
Setting up SageTV 7 Commercial Skipping